Colour Correcting Makeup Guide: How to Cover Skin Concerns
*Products bought by me
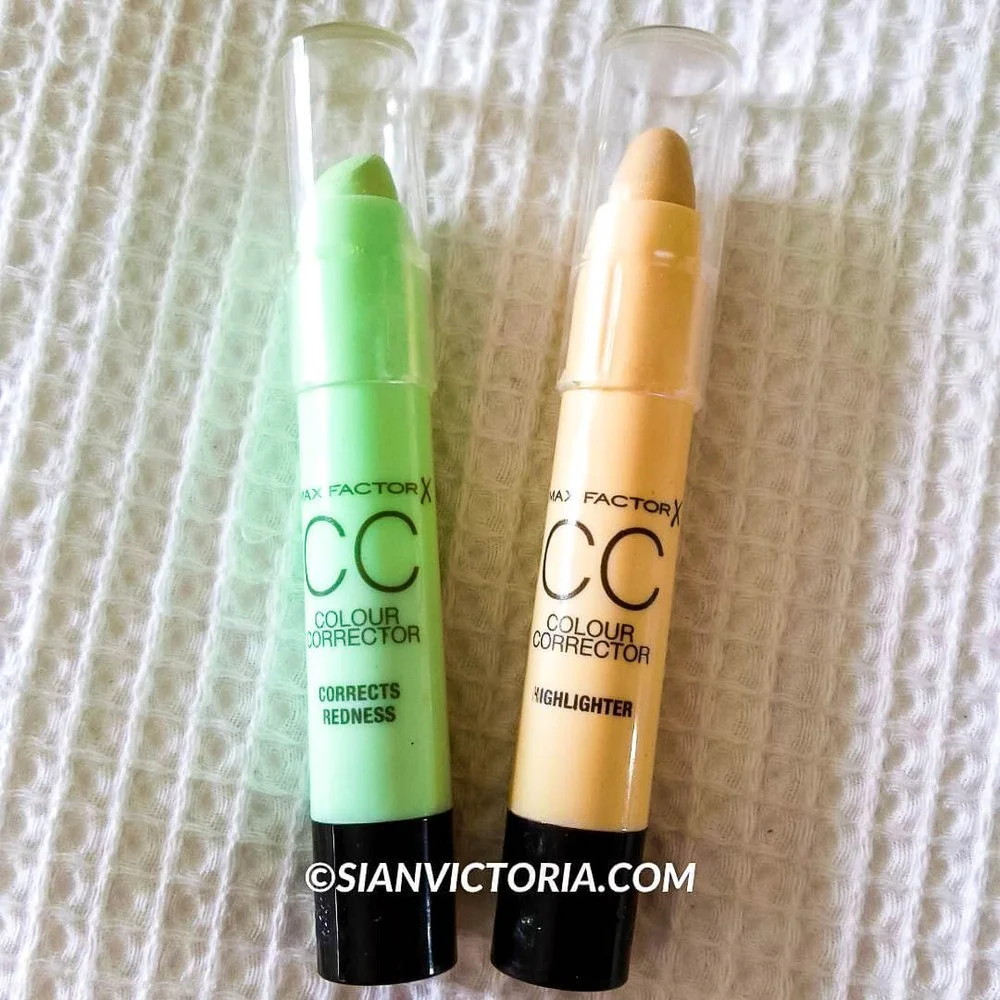
Sian Victoria © - MaxFactor Colour Corrector makeup sticks
Colour Correctors: Way to Reduce Skin Redness & Dark Circles
Have you ever felt discouraged by the appearance of uneven skin or dark circles under your eyes? If so, there's no need to fret as the solution is easily found with the use of colour correcting makeup.
In this post, I will delve into the world of colour correcting and provide you with all the knowledge needed to tackle any beauty issues. By discovering the right products, such as green and purple concealers, you'll be well on your way to achieving a flawless complexion.
With this colour correcting 101 guide, you'll feel confident and equipped to start your beauty journey and achieve your desired look.
Understanding Colour Correcting
The makeup technique of colour correcting utilises concealers or primers of different shades to address specific skin concerns. It involves applying colour theory principles to achieve a smooth and even complexion. The key lies in comprehending which colours can neutralise particular skin issues.
For instance, green correctors are ideal for minimising redness since green is positioned opposite to red on the colour wheel. Orange or peach correctors can work wonders in hiding dark under-eye circles as they can cancel out blue and purple tones. Yellow correctors can enhance the brightness of sallow or dull skin, whereas lavender correctors can neutralise yellow undertones - just like purple shampoo!
To attain the best results, it's best to understand your unique skin concerns and the corresponding corrector shades. By being aware of which colours can counteract your particular concerns, you can successfully conceal them and create a more balanced base for your foundation and concealer.
Types of Colour Correctors and Their Uses
For achieving a perfect complexion, it is essential to understand the different types of colour correcting makeup and how they can address specific skin concerns. These makeup products come in various forms, and each has its own purpose and use. Here are some of the most common types of colour correctors and their uses.
Green Correctors: If you struggle with redness on your skin, a green corrector will be your best friend. Green correctors are ideal for counteracting redness caused by rosacea, acne, or any other redness. By applying it to the affected areas, you can neutralise the red tones and create a more even skin tone.
Peach or Orange Correctors: To tackle dark under-eye circles, you can use peach or orange correctors. These correctors are perfect for cancelling out the blue and purple hues that appear under the eyes, leaving you with a brighter and more awake appearance. Apply a small amount of peach or orange corrector under your eyes and blend it out gently for a natural look.
Yellow Correctors: A yellow corrector can work wonders for those with dull or sallow skin. The yellow tones in these correctors help to brighten up the complexion and counteract any uneven skin tone. Apply a yellow corrector to areas that appear dull or lacklustre to achieve a more radiant look.
Lavender Correctors: If you have a yellow or sallow complexion, using a lavender corrector can help balance out your skin tone. Lavender correctors are great for neutralising yellow undertones and uneven pigmentation. Apply it to areas with yellow undertones, such as around the mouth or on the forehead, to achieve a more even complexion.
Salmon or Pink Correctors: To brighten dark spots or pigmentation, you can use salmon or pink correctors. These correctors can also help to reduce the appearance of scars or blemishes. Apply a small amount of salmon or pink corrector to the affected areas and blend it out for a flawless finish.
It is important to choose the correct shade of colour corrector that matches your skin concern. Using the wrong shade may not produce the desired results and can make the issue worse.
Experiment with different colours and textures to find the corrector that works best for you. By using the appropriate colour corrector, you can address your specific skin concerns and achieve a flawless complexion that radiates confidence.
Choosing the Right Colour Corrector for Your Skin Concerns
Selecting the appropriate colour corrector for your skin concerns involves considering both the shade and formula, taking into account that each person's skin is unique.
To identify the corrector that works best for you, you need to first identify your specific skin issues. Are you dealing with redness, dark circles, dullness, or uneven skin tone? After gaining a clear understanding of what you want to correct, you can choose the suitable colour corrector shade.
Furthermore, it is vital to consider the formula of the corrector. You should decide on whether you prefer a cream, liquid, or powder formula. Each type has its pros and cons, so it's worth experimenting with various textures to find the one that complements your skin type and preferences and assists you in achieving a flawless complexion.
How to Apply Colour Corrector Step-by-Step
After gaining an understanding of the fundamentals of colour correcting and selecting the ideal product to address your specific skin concerns, it's now time to learn how to apply it effectively. Follow these simple instructions to attain a flawless complexion:
1. Start with a clean and moisturised canvas: Ensure your skin is free of any impurities and sufficiently hydrated before applying any makeup to allow the colour corrector to blend in seamlessly.
2. Use primer: Apply a thin layer of primer to establish a smooth base for your colour corrector, as well as extend the life of your makeup.
3. Directly target problematic areas: Using a small brush or your clean fingertips, apply the corrector to the specific areas you want to address. Pat the product gently onto your skin, blending it outwards using a tapping motion.
4. Layer your foundation or concealer: After blending in your colour corrector, apply your foundation or concealer as you normally would. This helps to further conceal any remaining imperfections.
5. Set your makeup: Seal the deal by lightly dusting your makeup with translucent powder. This will ensure your colour corrector stays in place throughout the day.
Remember that less is more when it comes to colour correcting. Begin with a small amount of product and build it up as necessary. Keep practising to refine your technique and discover what works best for you.
Common Colour Correcting Mistakes to Avoid
Achieving a flawless complexion through colour correcting can be a game-changer, but it's important to avoid common mistakes that can ruin your efforts.
Overcorrecting is a major pitfall to avoid as applying too much colour corrector can lead to an unnatural and cakey look. Always remember that a little goes a long way and start with a small amount, building up if needed.
Another mistake is choosing the wrong shade of colour corrector, which can make matters worse. Ensure that you match the corrector to your specific skin concern to neutralise the problem area instead of creating a contrasting effect.
Proper blending is also essential to achieve a seamless look, and taking the time to blend the corrector into your skin using gentle tapping motions will prevent any harsh lines or patches.
Finally, don't forget to prime your skin before applying colour corrector. A primer creates a smooth base and helps the corrector adhere to your skin better, resulting in longer-lasting and less patchy application.
Review: Max factor Colour Corrector Sticks
For me, when it comes to correcting and enhancing my complexion, I seek to reduce redness on my cheeks while adding definition to my cheekbones. For this reason, I bought this duo from the Maxfactor CC Colour Corrector range.
- Maxfactor CC Colour Corrector in green: Corrects redness
When my sensitive skin becomes red and takes some time to settle down after washing my face, I always resort to using green sticks to help me correct the colour. The Max Factor green stick, called 'The Reducer', caught my attention because it comes in a stick form that allows me to apply it directly to the problem areas of my skin and blend it seamlessly.
Once I apply the green stick, my face appears paler, providing me with a great base to apply foundation. For reducing redness, I have found that the green stick conceals broken veins on my cheeks well. Additionally, I have used the No7 Colour correcting primer, which has also proved to be effective. You can find my review on this in my matte makeup guide.
- Maxfactor CC Colour Corrector in Champagne: Highlighter
After applying my foundation and contouring, I use 'The Illuminator' highlighter stick to softly reflect light and illuminate my face. This step enhances my cheekbones and helps them look more chiselled, as well as giving the area under my eyebrows a subtle glow.
*SHOP THE POST
If you want to even out your skin tone, these colour-correcting products could be the solution. Use the green colour corrector stick to reduce redness, the peach-perfecting concealer to cover dark circles, and the illuminating yellow corrector to brighten dull skin. For flawless coverage, try a full coverage concealer, and set your makeup with a translucent setting powder for a long-lasting, perfect finish.


